Follow these instructions to ensure all participants are correctly added, marked, and billed accordingly.
1. 📍 Accessing the Class
- Go to the Activities menu.
- Click on Training Session/ Classes on the top of the page.
- Find the class you want to manage and click on it.
You’ll now see the class page with the following:
- Class image
- Timing
- Packages allocated
- Class name
2. Adding an Attendee to the Class
Below the class picture, you'll find a space to add attendees:
- You can search for an existing client or add a new client.
- Once added, the system will show that the client is now part of the class.
✅ Important: Make sure to buy the client a package once they are listed in the class. This will automatically remove any session owed if applicable.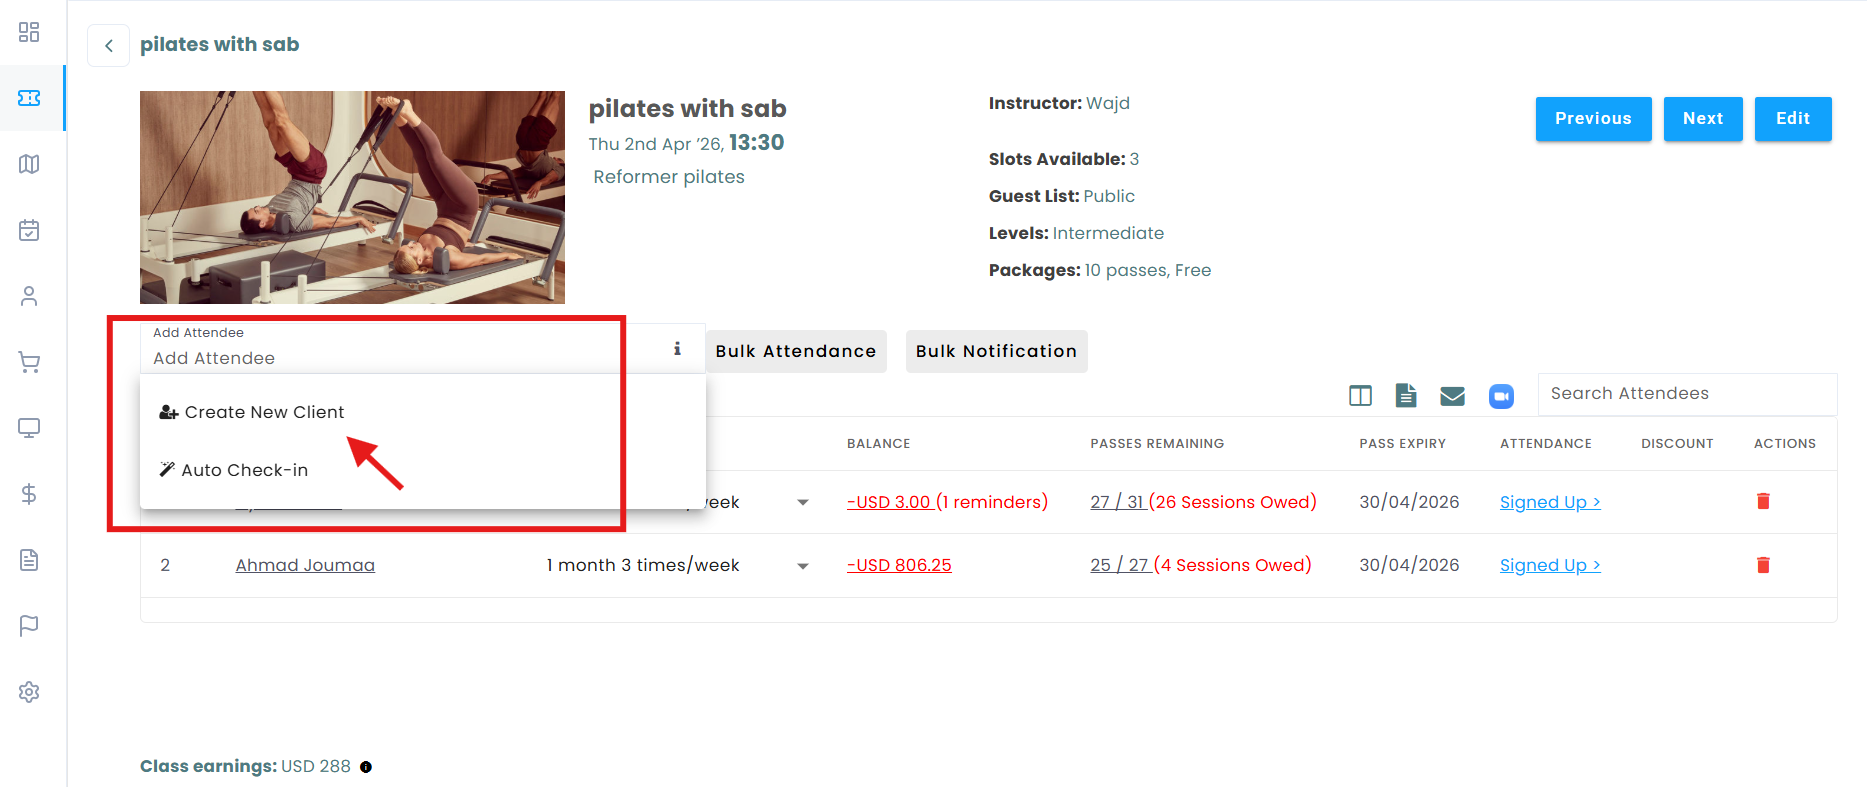
3. Marking Attendance on the app as a trainer
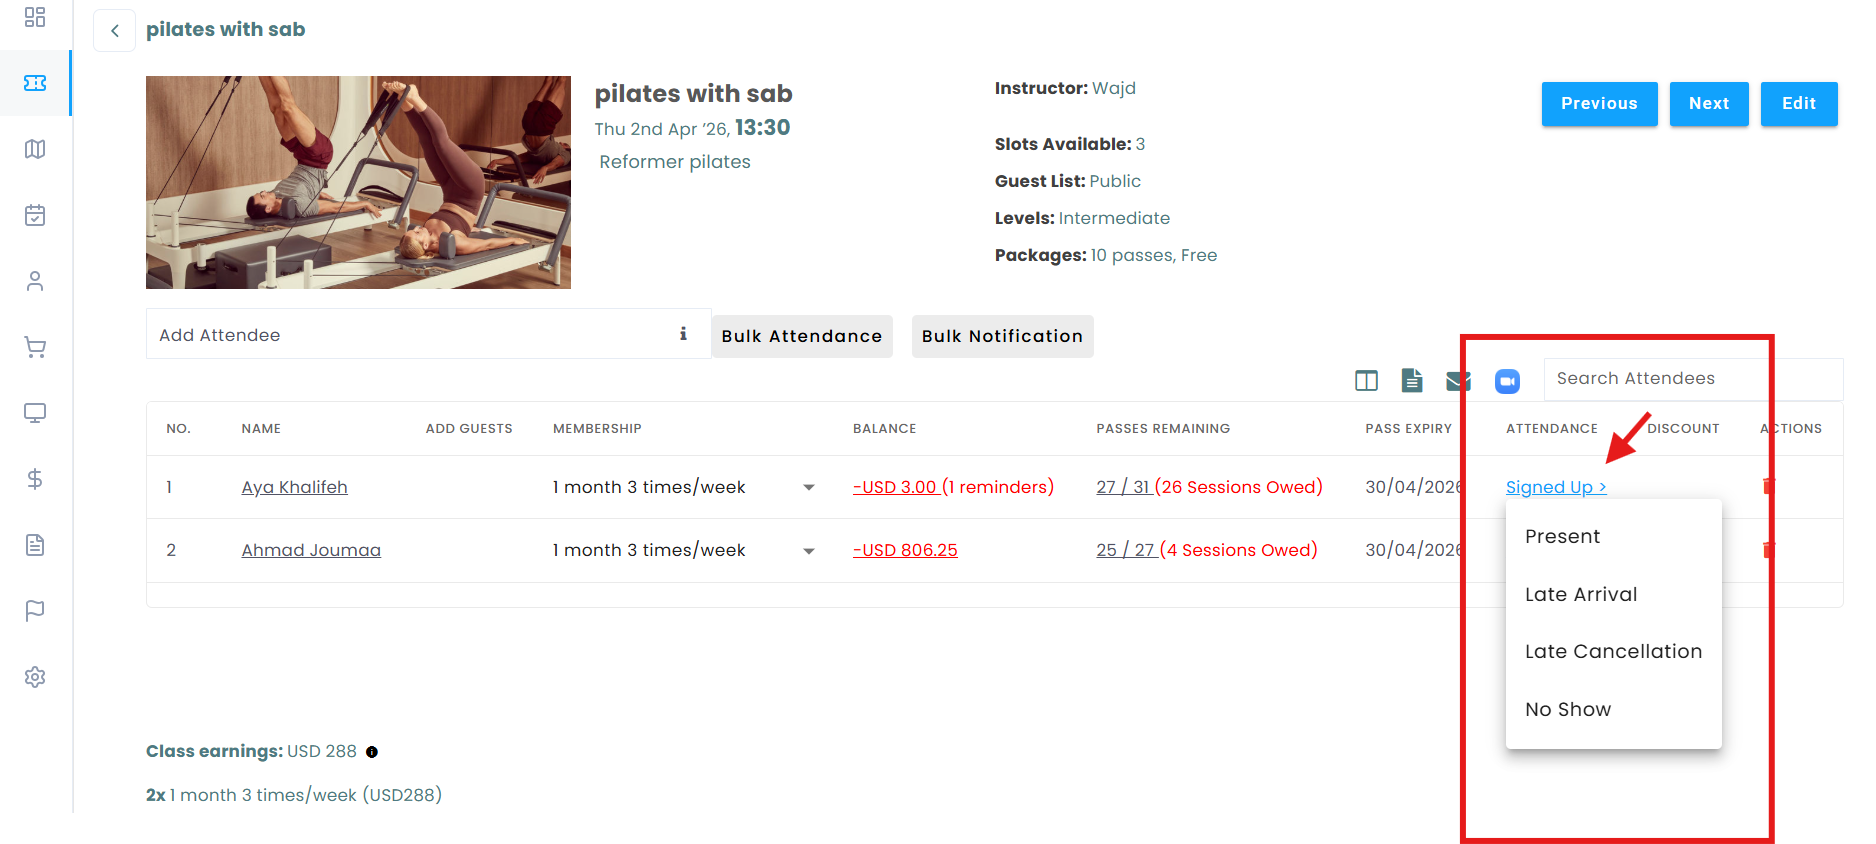
Once a client is added to the class:
The trainer accesses the app using their email, they enter the class and submit attendance.
From the dropdown menu, select the appropriate status for the client:
- Present – if the client attended the class.
- Late Arrival – if the client showed up late.
- No Show – if the client didn’t show up.
- Late Cancellation – if the client cancelled late.
✅ Summary
Taking class attendance ensures accurate records, client accountability, and correct billing. Make sure to:
- Add clients before class starts.
- Purchase packages if needed.
- Mark attendance promptly after the session.
Using this process keeps your classes organized and your operations smooth!