
When creating a new branch, you’ll need to fill in the following details:
✅ Branch Name – Give your branch a clear and recognizable name.
✅ Image – Upload an image to represent the branch.
✅ Contact Number – Provide the branch’s phone number.
✅ Assign Users, Staff & Trainers – Select which team members will be part of this branch.
✅ Location – Set the branch’s location, fully integrated with Google Maps for easy navigation.
Managing Branches
Edit – Make updates to branch details whenever needed.
Search – Quickly find branches using the search function.
Delete – While you have the option to delete a branch, we strongly recommend reaching out to our team first to avoid any issues since deleting the branch will delete all its data.

Disable Branches Online
When the branch is disabled online the classes located in the selected branch will not show online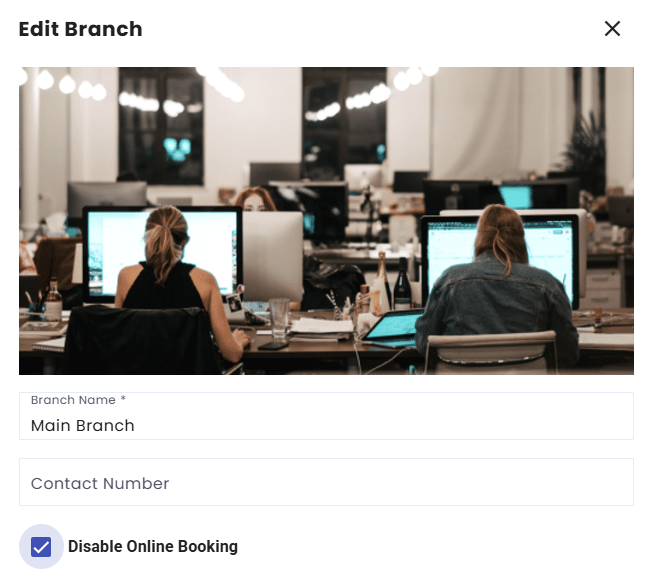
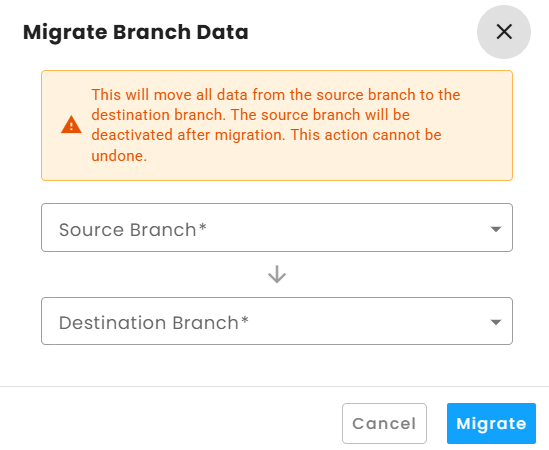
Migrate Branch Data
Merge branches by going to Company setting > Branches > Migrate data branch
Force Branch Selection
When opening the app, users will now be required to select a branch before they can view any Classes or PT services.
- This ensures every user sees the correct schedules and services for their specific branch
- Users simply select their branch once and they're good to go